Isolated python environments with devcontainers
TL;DR
- Instead of
pyenvorcondato separate dev environments, you might try docker containers devcontainersmakes using docker for development convenient- However it is has some drawbacks as well
- Example repository on
GitHub
Separating dev environments #
In Python there are myriad ways to isolate your environments, manage dependencies and install different Python versions. Some examples are virtualenv, pyenv, conda, rye. However they all come with their own tradeoffs that I will not go into here. And given that many projects might require additonal tooling like NodeJS or python-dev headers installed, it becomes even more complicated to create an isolated, repeatable dev environment which contains everything you need without polluting your own operating system.
Docker is used since quite a while to package apps for production. But in development, only 17% of developers use Python from within docker, according to the JetBrain's Python developer survey 2022.
So I want to showcase using docker to isolate your environments, combined with the convenience provided by devcontainers in VS Code.
Instead of deriving a too simple example, I want to add devcontainers to an existing open source project: The wagtail bakerydemo. Wagtail is a Django based CMS, so this project requires a Postgres database and redis to run.
Using docker directly #
The demo already brings its docker based setup using docker compose which you can easily start following the README with:
docker compose up --build -d
# After this command completes and returns to the command prompt, wait 10 more seconds for the database setup to complete. Then run:
docker compose run app /venv/bin/python manage.py migrate
docker compose run app /venv/bin/python manage.py load_initial_data
This boots up all just well and will present us with a working website at http://localhost:8000/.
But how would we go about developing within these containers?
For example, when needing to run a command in the project, e.g. with access to the database, we would always need to prefix it with docker compose run app ..., or open a shell within the container docker compose run app bash and work from there, or start the app within the debugger of my IDE, and so on ...
This is where devcontainers come in. It integrates VS Code with the containers used for development (💡 hence: devcontainers 😉) using VS Code's powerful remote development capabilities.
Using devcontainers #
You need the VS Code extension installed. The extension provides commands to bootstrap your setup with a sample configurations:

Please try this yourself with a project you know. For now I want to show you what the setup looks like once it is done:
$ ls -1 .devcontainer/
Dockerfile
devcontainer.json
docker-compose.yml
All the config is located in the .devcontainer/ directory. The filenames Dockerfile and docker-compose.yml look familiar. So let's first look at the .devcontainer/devcontainer.json:
// For format details, see https://aka.ms/devcontainer.json. For config options, see the
// README at: https://github.com/devcontainers/templates/tree/main/src/docker-existing-docker-compose
{
  "name": "wagtail-bakerydemo",
  // NOTE: The context for image builds will be the directory of the first file listed. In this case, the root of the repository.
  "dockerComposeFile": [
    // Re-use definitions for postgres and redis for development.
    "../docker-compose.yml",
    "docker-compose.yml"
  ],
  "service": "app",

  // This folder is our project folder within the container.
  "workspaceFolder": "/workspace",

  // Initial setup when creating the container.
  "postCreateCommand": {
    "collectstatic": "DATABASE_URL=postgres://none REDIS_URL=none python manage.py collectstatic --noinput"
  }
}
It has rather little information, but it is enough to make it work. Most importantly it contains a list of docker-compose files. They specify the services which need to be started for the project to work. In our case this will include a database and a redis instance. The key "service": "app" then defines which of the docker-compose services we want to develop on.
So app is the docker container we are going to connect our VS Code with. It will contain our desired Python version and the project code mounted into /workspace.
Last, there is a postCreateCommand given. Let this just be a hint onto a number of things that we could do in our devcontainer.json in order to automate the initial setup. You can go rather wild here with adding additional features, running commands on every container start with postStartCommand, and so on.
But let's skip that for today and have a look at .devcontainer/docker-compose.yml:
version: '2'
services:
  app:
    build:
      context: .
      dockerfile: .devcontainer/Dockerfile

    environment:
      PORT: "8000"

    volumes:
      # Mount the project into /workspace
      - .:/workspace:cached

    # We need a command that keeps running forever.
    # Otherwise the container would stop, and vs code would close.
    command: /bin/sh -c "while sleep 1000; do :; done"
As you remember from the devcontainer.json file, we are using two docker-compose.yml files: The default one from the repository, plus the one displayed above for overrides specific to the devcontainers setup.
All we have here is that we are building the app service using our own .devcontainer/Dockerfile, mounting the project into the correct place within the container, and starting a long running command so that the container will not stop prematurely. Since VS Code attaches for development to the app container, it would kill VS Code as well once the container stops.
Now to the final file of our .devcontainer directory, the Dockerfile:
FROM mcr.microsoft.com/devcontainers/python:1-3.9-bullseye

# Install requirements. We don't need a virtualenv, as we only have this one project in the container.
ADD requirements/ /requirements/
RUN pip install -r /requirements/production.txt -r /requirements/development.txt
We are extending a base image from devcontainers/python here. This provides us with a nicer setup than a plain docker image. It has a useful bash prompt, git is installed, and it supports installing devcontainer features. More on that in the docs.
Additionally we are installing the Python dependencies. We could do that by hand in the container every time we setup the project, but why bother if we can automate it on build? We could also do that with the postCreateCommand that you saw earlier, but we install the dependencies directly into the image here in order to benefit from docker's caching mechanisms.
And how do I work on the project now? #
Ok, all configs set. But how will we actually get VS Code to use it?
Open the project folder with VS Code and you will see this pop up:
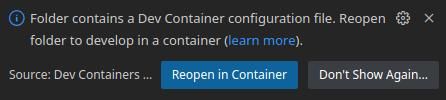
Now go click the button, and see VS Code restarting. It will build the required docker images, start the database and connect to the app container.
Once it is finished, it looks like this:
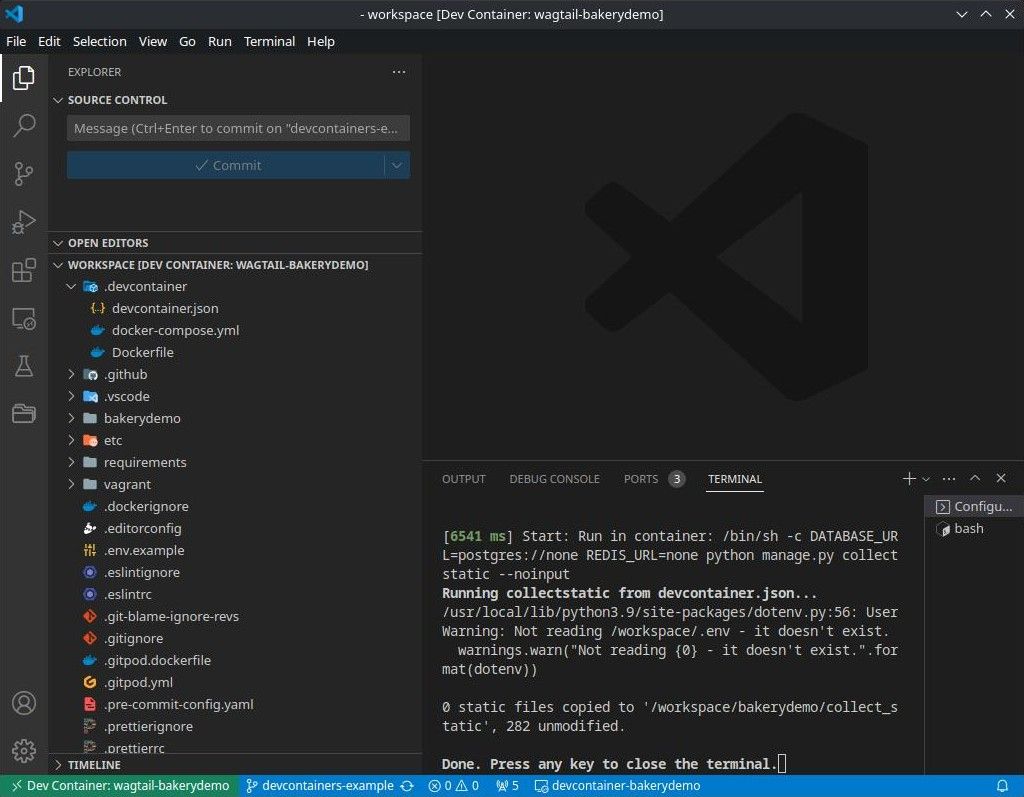
Nice! Since we replaced the command with the long running sleep, we still need to start the server that we actually want to develop on. However the readme briefs us with two more setup steps required before we can finally start it:
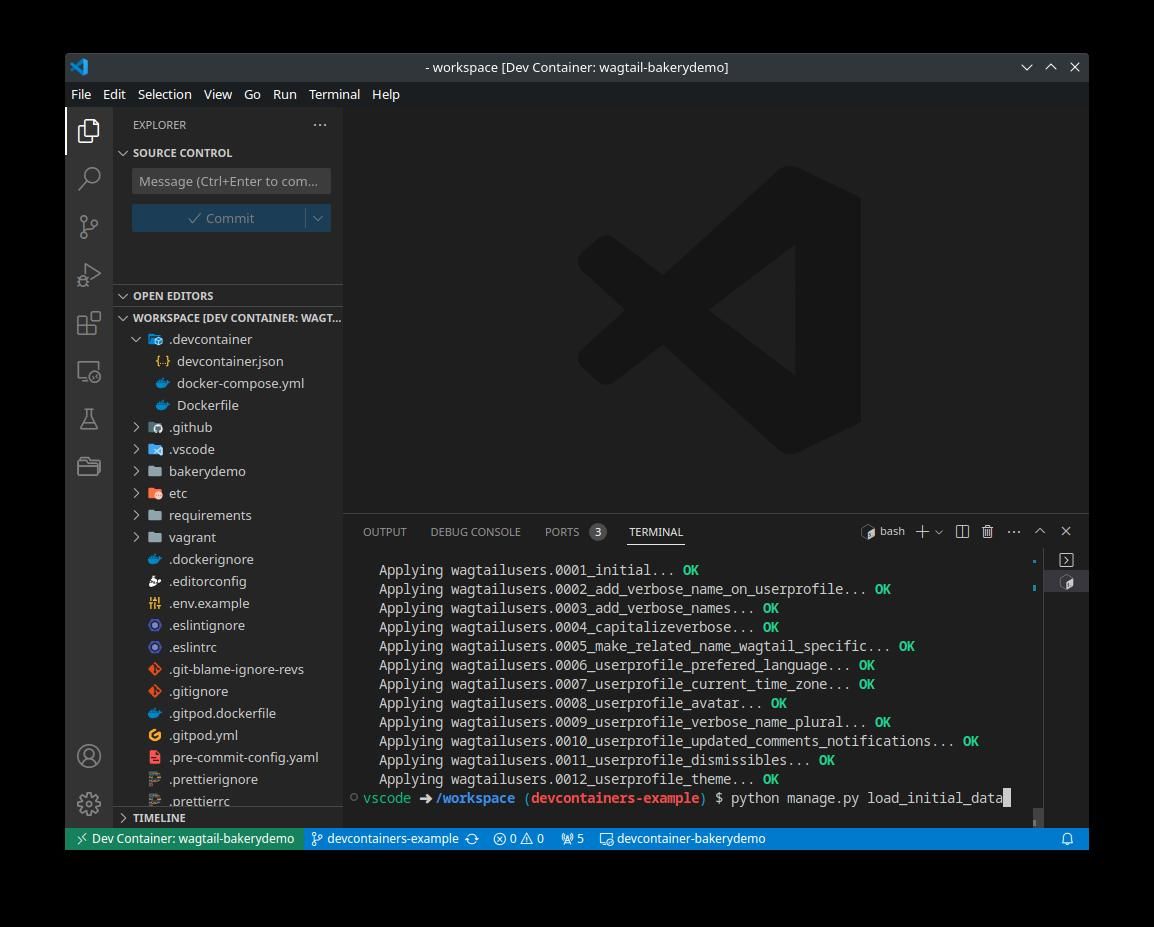
python manage.py migrate
python manage.py load_initial_data
We already have installed all dependencies (in Dockerfile) and the database is up and running (started in the background from the definition in docker-compose.yml), so we can simply paste the commands from above into the integrated terminal:
Now we are ready! 🚀
Start the server:
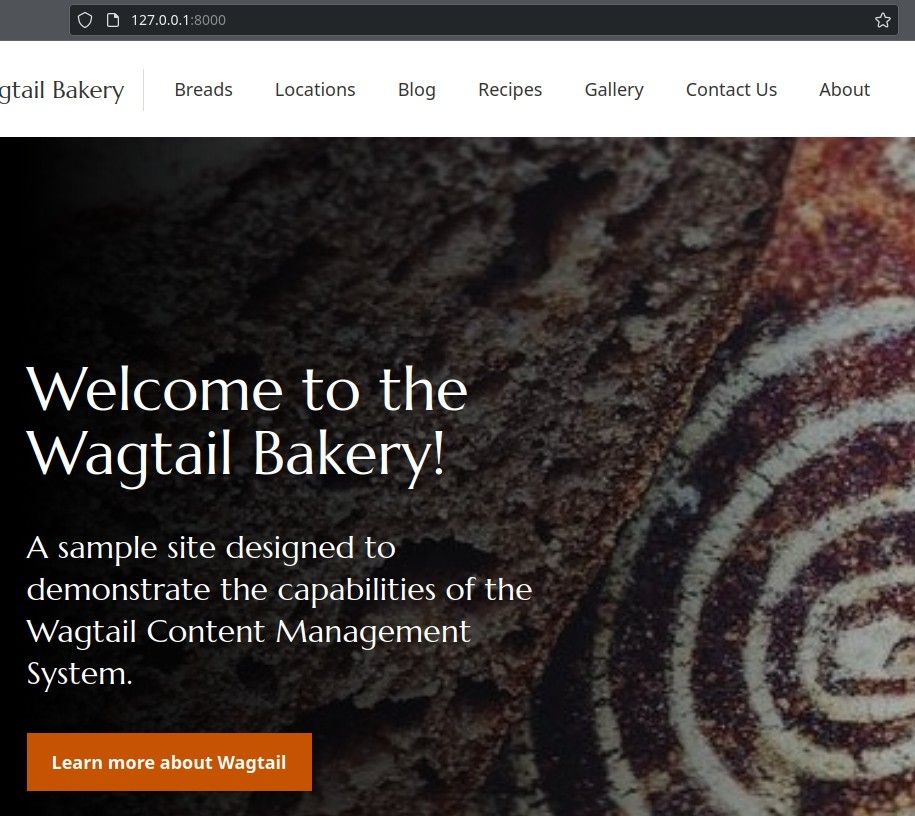
python manage.py runserverAaaand... it works! VS Code even suggests to open localhost:8000 in the browser:
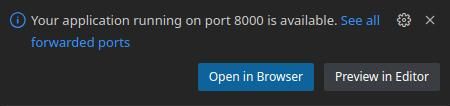
Once we click that friendly offer, we actually see the site up and running:
It is not perfect though #
To make devcontainers really work for you, you obviously already need to know how to use docker. However when you do know it, you will feel home rather quickly.
There are a few caveats though:
- You don't have access to the
dockerCLI from within the container. So if you need to run adhoc docker commands, you will need to do so from your local shell, not from within your container (there are docs about usingdocker-in-dockeranddocker-outside-of-dockerthough) - You will not have your local CLI tools installed in your environment by default. You can of course always add these tools to the
Dockerfileif you'd like. This makes the setup more repeatable as well. - By default your shell history is not persisted for the container (there are docs on how to do this). In most cases this is fine I guess. In projects were you want to have quick access to commands you run more often, create a script (I recommend
just). That makes it easier to reuse across your team anyways.
After all it is not your local setup, but a different shell, and maybe even a different OS. But you can make it feel like home if you invest into it 🏡.
Where to go next #
Now go and explore it yourself. You have to experience it to see if it fits the flow of your team and yourself.
Install the devcontainer extension (and docker of course), checkout the demo repository, and open it with VS Code. If everything is setup correctly, you will see the "Reopen in Container" pop up. You can take it from there.
Then:
- Read more about devcontainers in the VS Code docs
- See the reference docs about the
devcontainer.jsonconfig - Try it on your own project! 🏗️
Best of luck. No need for Python environment management from now on 🥳
🗨️ Please reach out if you have questions or something to add.